Thursday, August 29, 2013

Chocolate Zucchini Cake with Cream Cheese Frosting


Sometimes when you bite into sweet things and see the color green it can be a bad thing...a very bad thing indeed.

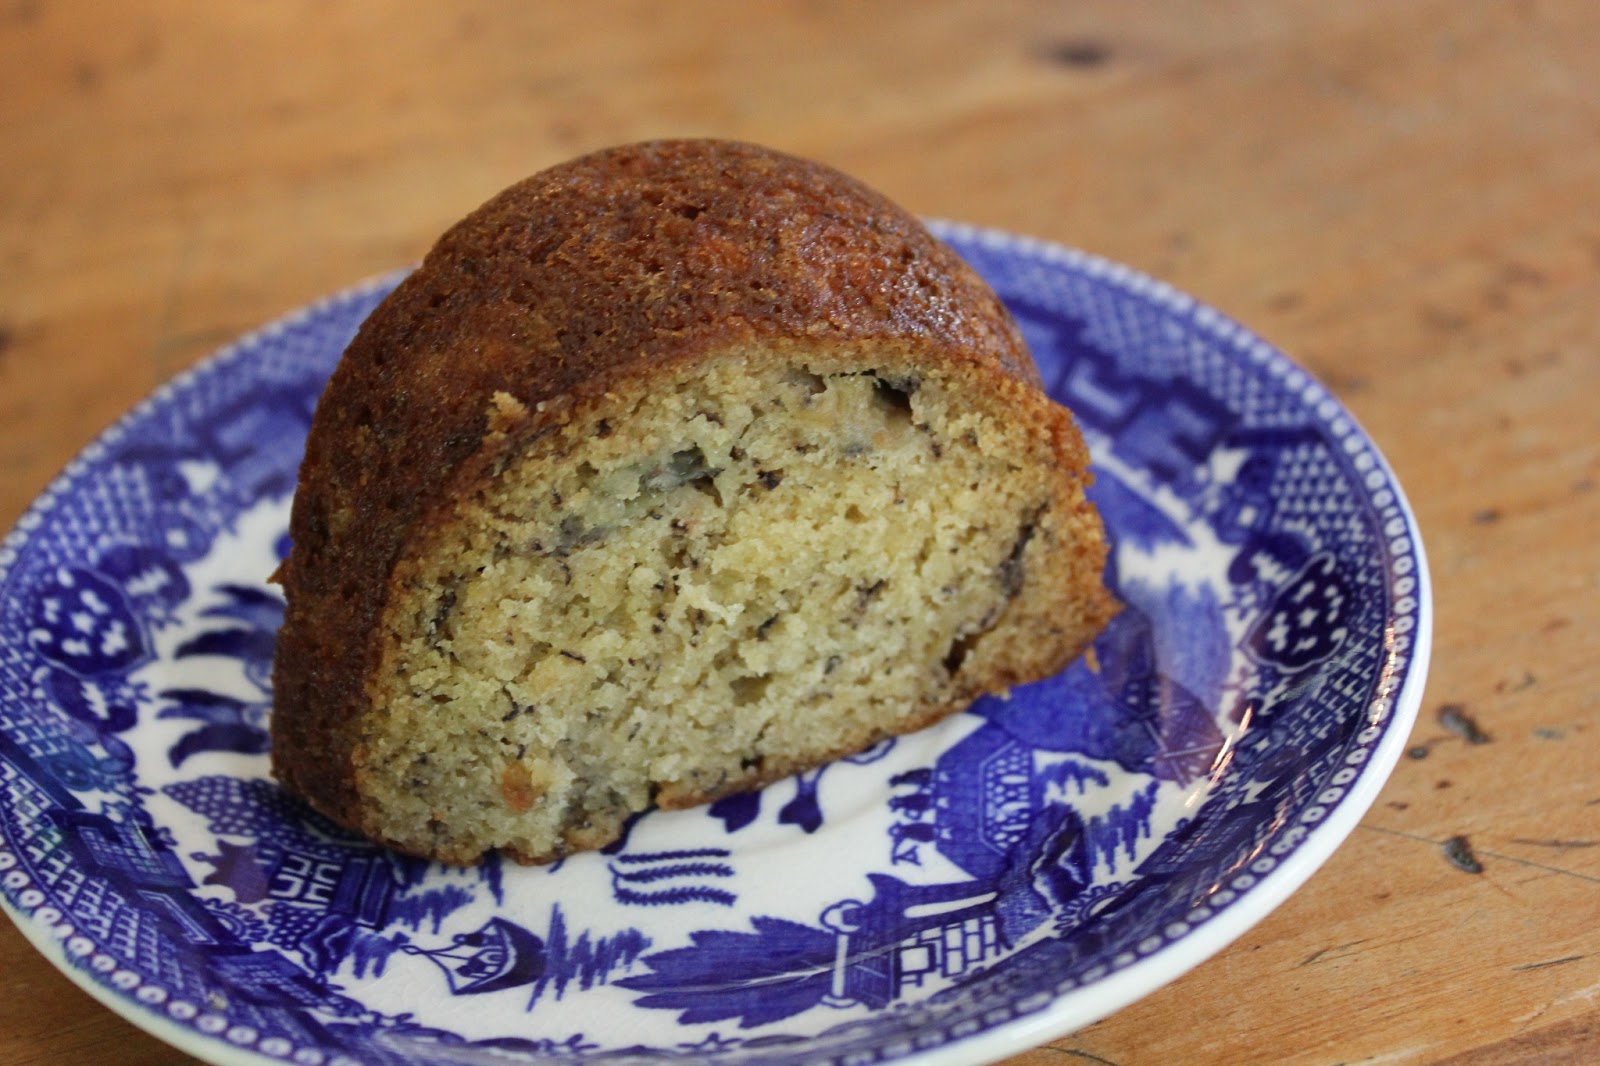
Sometimes you can bite into a sweet treat and seeing green is an awesome, super awesome thing!  This is one of those times!  This cake has 3 cups of zucchini in it!  In my book that makes it a vegetable more than  a dessert. : )  I made this cake for a work function and nobody even noticed there was zucchini in it!  Look at the picture above...can you see the greeness?  Nope.  Wow, chocolate sure is awesome!  Zucchini is super wet so it helps make this an incredibly moist cake...no seriously, it is really moist.

I am about to head out on a road trip with the baby sister to bring her back to college in Florida.  Hum, road trip anyone?  I have done a pretty decent job at avoiding road trips over the last year, so I guess I am due for one.  18 hours in the car...yikes a what?  Guess this is our last hurrah as two unmarried sisters driving across many States together.  She gets married next summer so this will never happen again!  I tried my hardest to get out of it, but my other little sister has flown and driven with me so many times when I moved that I figured it was my turn to drive a sibling super far away.

When I moved from California back to Texas my little sister flew from TX to Cali to drive with me.  It was a crazy road trip.  At one point we were in the middle of nowhere in the middle of the night with no cell phone reception, and realized we were completely out of gas!  We drove slowly and with the windows down, a/c off, praying the Rosary for about 30 minutes and literally rolled into this little gas station.  Scariest thing ever.  Now I pay attention to the gas levels while road tripping...and hopefully this trip is super uneventful!


  • Chocolate Zucchini Cake with Cream Cheese Frosting
  • adapted slightly from the King Arthur recipe

  • 1/2 cup (8 tablespoons) butter
  • 1/2 cup vegetable oil
  • 1 3/4 cups sugar
  • 1 teaspoon vanilla
  • 1 teaspoon baking soda
  • 1/2 teaspoon baking powder
  • 1/2 teaspoon salt
  • 2 large eggs
  • 1/2 cup sour cream, buttermilk, or yogurt
  • 2 1/2 cups unbleached all purpose flour
  • 3/4 cup cocoa powder
  • 2 teaspoons espresso powder, instant coffee, or finely ground coffee  (optional but tasty)
  • 3 cups shredded zucchini - I shredded mine in my food processor
  • 1/2 cup chocolate chips
Preheat the oven to 325°F. Lightly grease a 9" x 13" pan.
In a large mixing bowl, beat together the butter, oil, sugar, vanilla, baking soda, baking powder, and salt until smooth.
Beat in the eggs.
Stir in the sour cream, buttermilk, or yogurt alternately with the flour.
Add the cocoa and espresso powder, mixing until smooth.
Fold in the zucchini and 1/2 cup chocolate chips - mix until smooth. Spoon the batter into the prepared pan.
Bake the cake for 30 to 35 minutes, until the top springs back lightly when touched, and it seems set.
Remove from oven and allow cake to cool completely.

Make cream cheese frosting and spread over cake.
6 oz cream cheese, room temperature
1 stick butter, room temperature
1 tsp vanilla extract
1/2 # powdered sugar, which is about 1 3/4 cup
Cream the butter and cream cheese until smooth - about 30-40 seconds.  Add sugar and vanilla and beat until smooth.  Spread over cooled cake.  Store in the fridge.

Make this cake, put gas in your car, pray that my sister and I have safe travels, and listen to this song:


Eat your heart out,

Dagny

Friday, August 23, 2013

Easy Peasy Black Bean Burgers


I really don't like heavy dinners.

They weigh you down, makes it harder to go to sleep.

About a year ago I got my braces.  These braces made it difficult to eat meat.  As a result I ate more vegetarian meals than usual.  I also started not eating meat for dinner.  Only veggies and non-meat protein.  It has been awesome.  I lost 15 pounds because of it, and I sleep so much better.

These black bean burgers are one of my dinner options.  You eat them and don't feel gross and full - it is awesome.  I didn't follow a recipe for them, just kind of threw some ingredients into a bowl and called it a burger - turned out so much better than I thought they would!  Love when that happens!  Also, you can make extra - keep the mixture in your fridge and cook them throughout the week, or make them into patties and freeze them for the future.  I tripled this recipe and it made enough to feed our family with 7 people, and then froze 1/2 a dozen.

Black Bean Burgers

1/2 cup ground up oats or oat flour (I ground whole oats up in a food processor)
1/2 large zucchini, grated (on a grater or food processor with grater attachment)
1/2 large onion, grated
1 green onion, chopped small
1 can black beans, drained and rinsed and pureed until smooth
handful of fresh chopped cilantro
1 egg
1/2 lime juiced, or lemon
3/4 tsp salt
1 tsp chili powder
1 tsp cumin
1/2 tsp oregano flakes
1/8 tsp pepper
pinch of cayenne

Mix all of the ingredients together in medium bowl until combined.  Scoop out in 1/2 cup measurements and cook on a well oiled frying pan, over medium heat.  3-4 minutes on each side until browned.  Gently flip the burgers - they are not as sturdy as your traditional meat burgers.  Yo can eat them on a bun if you like, but I don't really eat that much bread so I prefer them on top of a bed of greens instead.  Serve with salsa and avocados!  You can also top them with cheese if you eat cheese. : )


Are you ready for Fall?  I sure am!  
Make these burgers, feel good about eating a healthy meal, listen to this song, 
and eat your heart out!

Dagny 


Friday, August 16, 2013

Coffee Cake Cookies

Eat me.

I adore a good hot piece of coffee cake in the morning on the weekends.  Sometimes I want to bring this coffee cake places - but then I remember coffee cake can be messy and crumbly...and end up all over your car floor.  True story.

Here enters the coffee cake cookie!  It is essentially coffee cake batter scooped out onto a cookie sheet and cover with streusal.  Yum Yum.  I was almost 100% sure these cookies would end up being pancakes and still fall apart like the cake.  I was oh so wrong.  These tender little morsels of goodness held up beautifully and did not crumb apart like I anticipated.  Success!!!  I made these for a ministry fair at Church where we were trying to promote our Young Adult group to people - I was hoping these cookies would entice people to approach our table and then we could get them interested in our ministry...but truthfully they were mostly consumed by little boys sneaking up to the table and snatching cookies away in a stealthy manner - pretty sure boys between the age of 5-9 are the biggest fan of church ministry fairs.


These were very easy cookies to make, and I have to admit I have eaten about 10 of them...Lord have mercy - what was I thinking!


COFFEE CAKE COOKIES

Adapted from the Baker's Royale website
Make the Pecan Streusel:
  • 1 ½ cups of pecans, toasted, or I used 1 1/2 cups whole old fashioned Oats
  • ¾ cup dark or light brown sugar, packed
  • 2 teaspoons cinnamon
  • Pinch of salt
  • 4 tablespoon unsalted butter, melted
Cookie dough:
  • ½ cup of unsalted butter, browned
  • 1 egg
  • ½ cup dark brown sugar, light will work as well
  • ½ cup sugar
  • ½ cup sour cream
  • ¼ cup cream cheese, softened
  • 2 teaspoon vanilla extract
  • 1 teaspoon cinnamon
  • 1 teaspoon baking powder
  • ½ teaspoon baking soda
  • ¼ teaspoon salt
  • 2 ½ cup unbleached all purpose flour
To make pecan streusel:
  1. If you are using pecans, place them on a bake sheet and bake at 350 degrees F for about 10-12 minutes or until pecans start to darken slightly and smell nutty.  Chop into small pieces.  
  2. Place chopped pecans or whole oats, brown sugar, cinnamon and salt and whisk to combine. Add melted butter and toss to combine. Set aside.
To make cookies:
  1. Heat and melt butter on stove top over medium high heat until it is brown and nutty smelling. Set aside to cool slightly.
  2. Place egg, brown sugar and sugar in a stand mixer bowl and mix on medium speed with a paddle attachment and beat until mixture is glossy, about 1-2 minutes. Add sour cream, cream cheese, vanilla, cinnamon, baking powder, baking soda and salt into mixture and beat to combine. The cream cheese might leave little clumps - no worries they will eventually break down.  Add in cooled butter and beat to combine. Turn off mixture.
  3. Using a wooden spoon or a sturdy spatula, fold flour into wet mixture. Add 1/2 the streusel mixture and fold to combine.
  4. Scoop out 1 heaping tablespoon of mixture and light roll into a ball and press into the streusel mixture.  Place on parchment lined baking pans.
  5. Bake cookies for about 10-12 minutes or until edges are golden brown. Cool cookies on a wire rack.
*Cookies will keep for 2 days in a tightly sealed container

Hey you.  Stop moving.  Take a breath.  
Be grateful for the things you have.  
You are blessed and you are a blessing.  
Life is beautiful!
Have a great weekend and eat your heart out,
Dagny


Friday, August 9, 2013

Paprika Roasted Cauliflower


Either you love cauliflower or you hate it.  For some reason my whole family loves it.  Not too sure why we all like the weird strongly opinionated vegetables so much - like Brussels sprouts, asparagus, and broccoli...but we do, and it is good.

I go through phases as to how I like to cook my vegetables - Roast, boil, saute...hum...which method shall I use today?  I also try to think about which cooking method allows the vegetable to keep more nutrients.  Obviously eating your vegetables raw is the best way to get the most nutrients, but honestly they just aren't as easy to consume when in their raw state...sometimes I feel like I am eating the earth, and this is not pleasant for me.  There are so many articles about which cooking method retains the most nutrients in your veggies - seems like most people are saying microwaving them is the way to go.  Personally I don't like using the microwave unless I have to - so I am going to not use this method...sorry popular opinion.

Putting all nutritional value aside and focusing solely on taste - roasting is the way to go.  Lots of vegetables develop a nice caramelized look and taste to them - which is a flavor gold mine!  The problem with roasting is it takes longer than just throwing them in some boiling water.  So - when I am in a time crunch - which is always - I boil them.  I had a rare day off from all my responsibilities in life so I made this cauliflower and some chocolate peanut butter cookies...which I will also post the recipe for soon!

Figured I should post something that didn't call for sugar.  You are welcome. : )

Cauliflower is weird people.  Honest to goodness it is.  Here are some odd things that make it special:

1)  Cauliflower can be found not only in the white color, but also the orange, green, and the purple (aka "graffiti cauliflower")...CRAZY!

2)  You can also find the "Romanesco" type cauliflower that looks like this strange space plant


3)  I really like how the green leaves wrap around in a safe embrace protecting the cauliflower head - it is a very maternal vegetable - don't you think?

In other news I FINALLY joined the smart phone world - so this might help me post more since I will have easier access to taking photos.  YEAH!!!  I feel so tech savvy all of a sudden. : )

Paprika Roasted Cauliflower

1 large head or 2 small heads of cauliflower, rinsed and green leaves cut away, break into pieces
Olive oil (about 1-2 TBS)
Salt and Pepper (generous sprinkle over all cauliflower)
1 tsp Paprika
pinch of cayenne

Preheat the oven to 350 degrees.  Place chunks of cauliflower into a large roasting pan.  Drizzle with olive oil.  Sprinkle with salt, pepper, paprika, and cayenne.  Toss to coat.  Roast in oven 20-25 minutes, stirring half way through.  Cook until desired tenderness is achieved.  I don't like mushy cauliflower so I tend to cook it a few minutes less.

Have a lovely weekend my food loving people!

Eat your heart out,

Dagny

Wednesday, August 7, 2013

Simple Banana Snacking Cake

Whenever I see a rotting banana I feel obligated to make banana bread or cake.  It is clearly the right thing to do.  Nothing beats some lovely toasted banana bread slathered with some cold butter.  Banana bread is simple to make and even easier to eat - trust me, I have eaten many loaves of banana bread in my lifetime.  This is my go to recipe for banana bread.  Of course I make many variations of it - add nuts, coconut, chocolate chips, rum, anything you like to mix in - go to town my friend!  Be sure the bananas are nice and ripe - if they aren't  it will change the flavor of the cake....Browner is better, black is usually they have gone too far, if there are bugs swarming the bananas it is clearly best not to use them.


Can you believe summer is coming to a close?  It went by so quickly!!!!  The heat took a while to really get brutal down here in Texas, only about a week ago did it get insanely hot - the kind of hot you feel in a sauna.  Yuck!  Really looking forward to the Fall!


Banana Snacking Cake
From Martha Stewart.com

  • 1/2 cup (1 stick) butter, at room temperature, plus more for pan
  • 1 cup granulated sugar
  • 2 large eggs
  • 1 1/2 cups unbleached flour
  • 1 teaspoon baking soda
  • 1 teaspoon salt
  • 1 cup mashed very ripe bananas
  • 1/2 cup sour cream
  • 1 teaspoon vanilla
  • 1/2 cup chopped walnuts or pecans (optional)

Preheat oven to 350 degrees.  Butter a 9x5x3" loaf pan or bundt pan and set aside.
Cream Butter and sugar until light and fluffy.  Add in eggs and beat to combine.

In separate medium bowl whisk together the flour, baking soda, and salt.  Add to the butter mixture and mix until just combined - DO NOT OVERMIX!  Add bananas, sour cream, and vanilla - stir to combine.  Add the nuts and stir.  Pour into prepared pan.  Bake until toothpick inserted into cake comes out clean - about 40 minutes-hour, depending upon which pan you use.  Allow to cool in pan 1 hour then remove from pan. 


Enjoy these last days of summer!!!

Eat your heart out,

Dagny